A step-by-step guide to renting an RV with RVezy
Rent RVs directly from RV owners
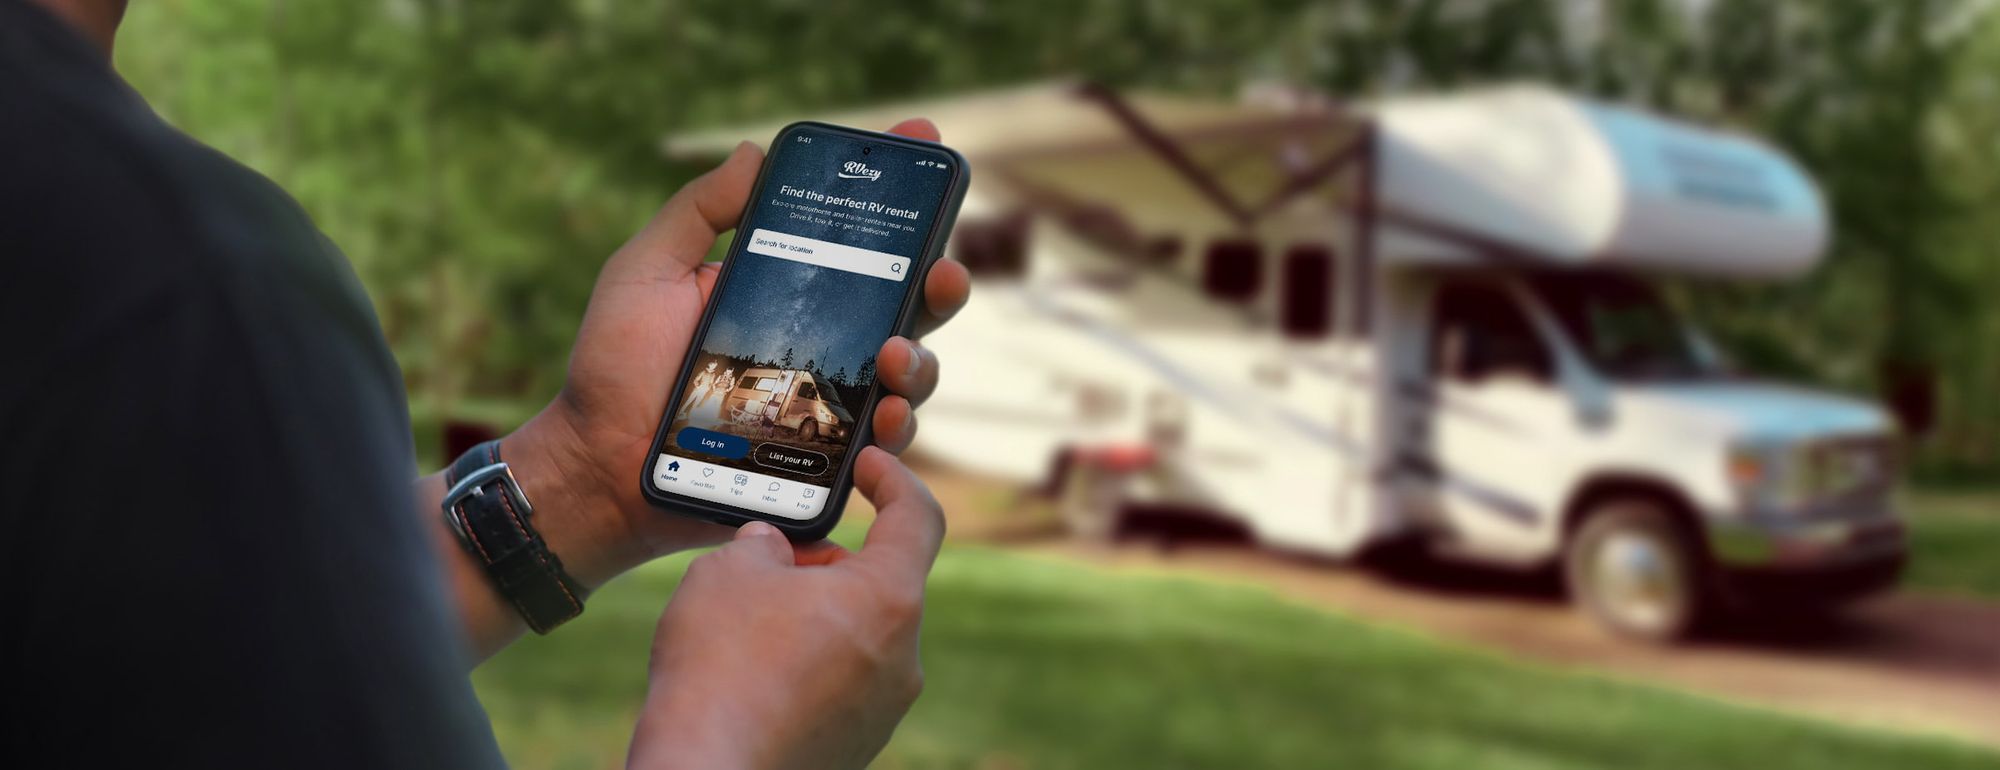
RVezy is an RV rental platform where you can book unique RV experiences with local motorhome and trailer owners. You can drive, tow, or get your RV delivered and set up practically anywhere across the U.S. and Canada.
How to rent an RV
Step 1. Search for an RV
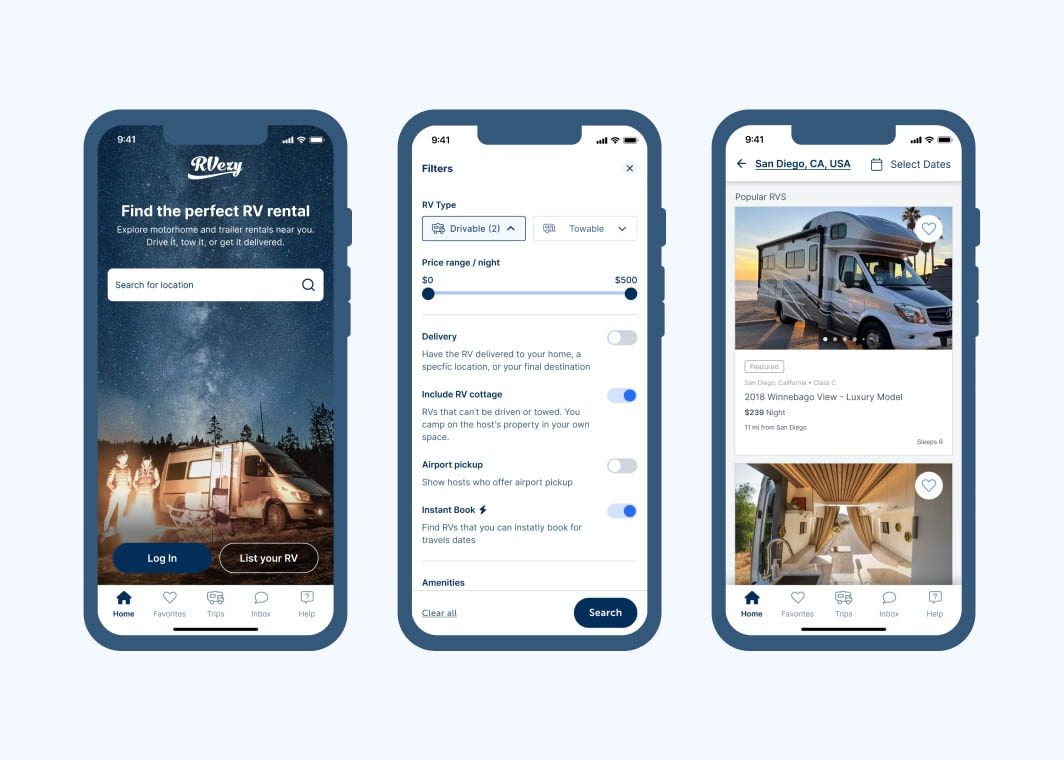
RVezy enables travelers to search and book privately owned RVs available for rent across the U.S. and Canada. Browse listings using the list or map view.
Refine your search by adding a location, dates, and filters such as:
- Number of guests.
- RV types.
- Price.
- Amenities.
- Pet-friendly.
- Delivery.
- Instant Book.
- RV length.
- RV weight.
Step 2. Create an RVezy account
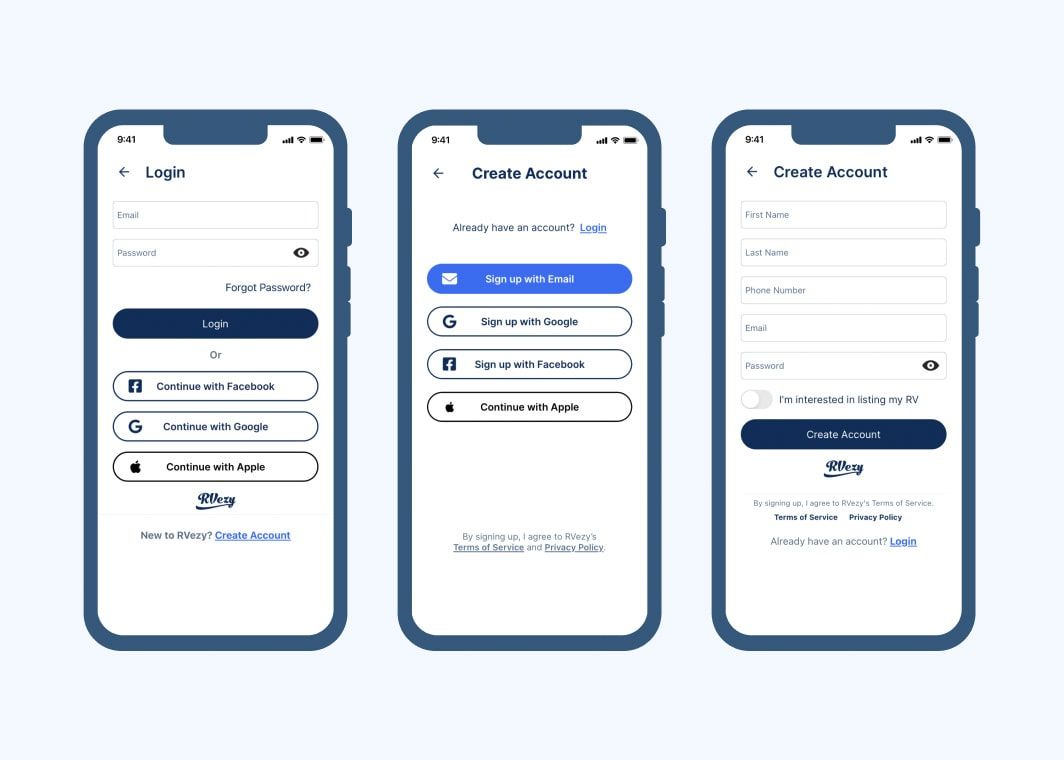
Found an RV you want to rent? Send a booking request using a verified account directly from your browser or download the RVezy app for the best experience. RVezy guests must be at least 25 years old at the time of rental and possess a valid government-issued identification card.
Step 3. Personalize your booking request
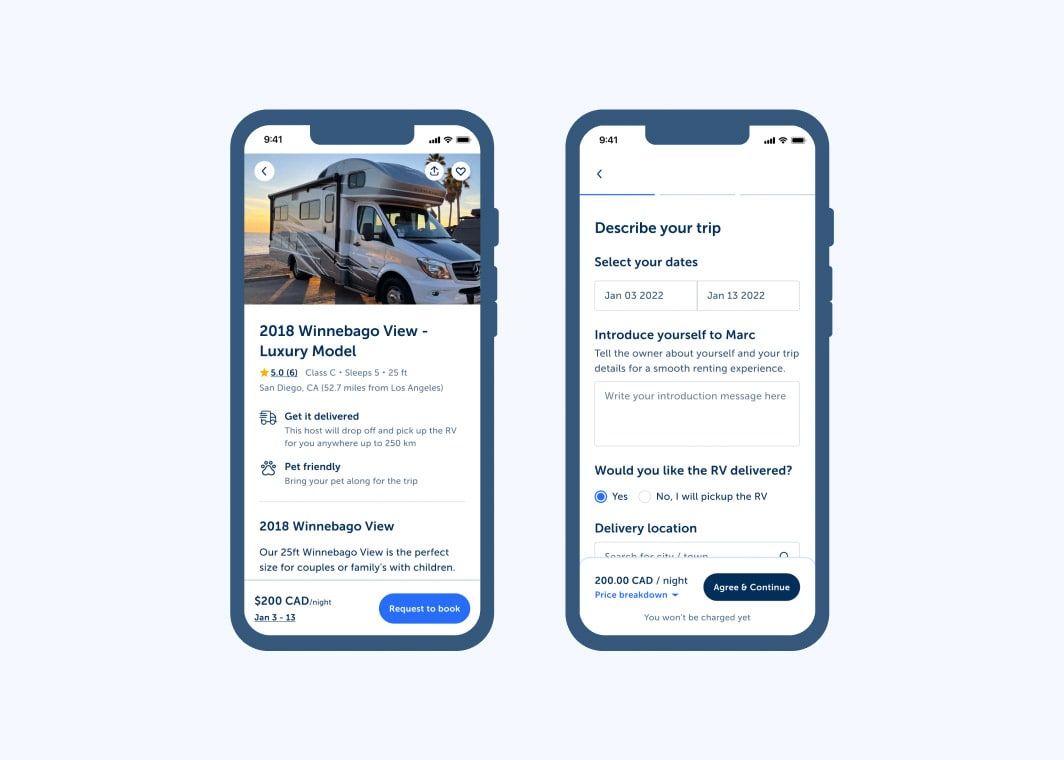
RVezy hosts customize their listings to offer you various rental services and add-ons. You can personalize your booking request by selecting the add-ons you want. Some of the common add-ons include:
- Linens.
- Cookware, dinnerware, and utensils.
- Small kitchen appliances.
- Camp chairs, propane fire pits, or outdoor grills.
- Septic service.
- Generator.
- Campground delivery and setup.
RVezy takes the safety of our hosts and guests seriously. Whether you use the RVezy app or our web-based platform, we protect your personal information throughout the rental process.
Step 4. Add insurance and roadside assistance
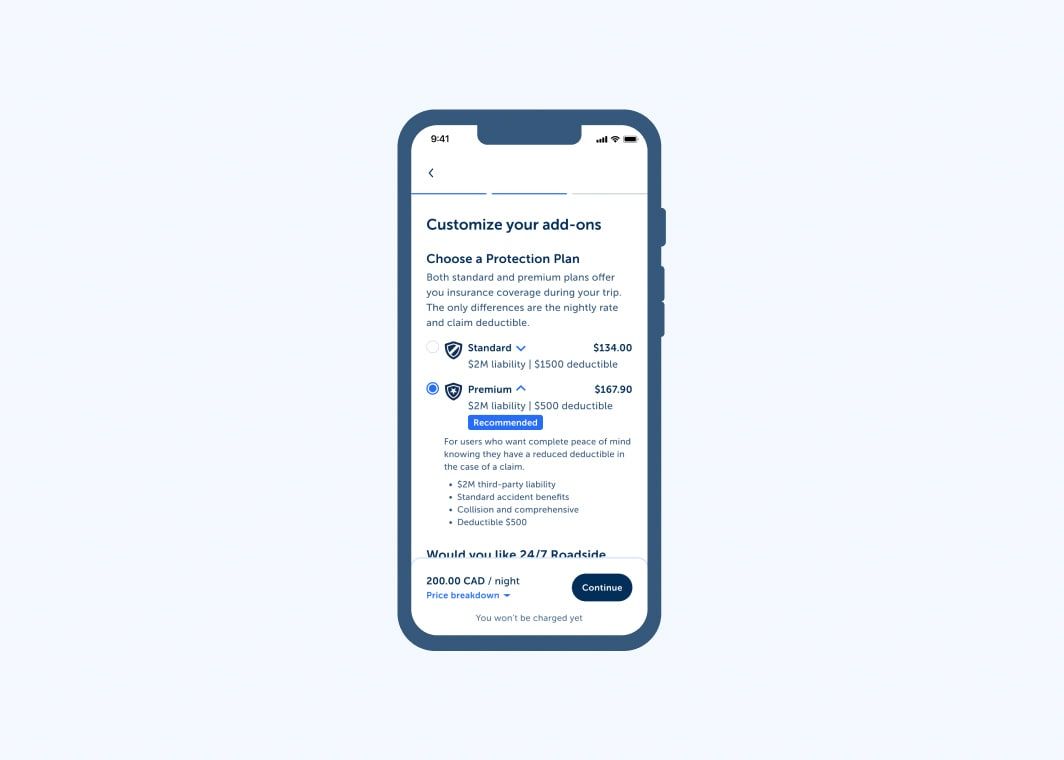
RVezy partners with North America’s top insurance and roadside assistance providers to ensure guests and hosts have complete peace of mind during each trip. Once you have chosen your desired insurance and roadside plans, you will be required to pay for your booking, which includes a refundable security deposit.
Step 5. Enter your payment information
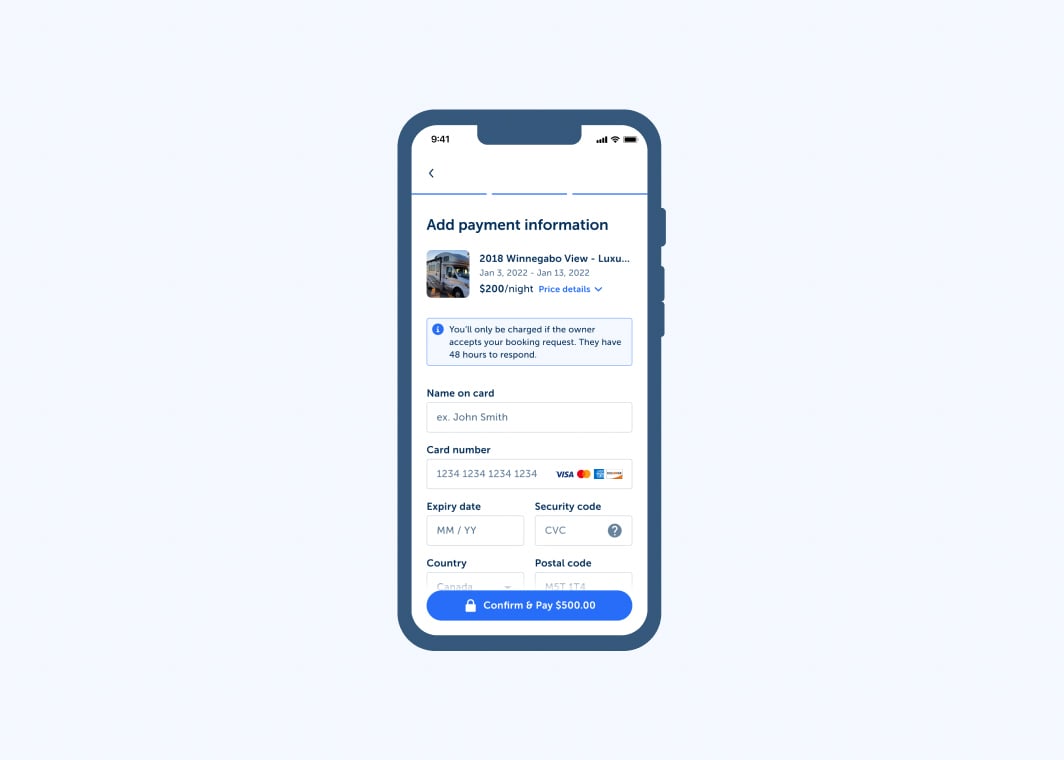
RVezy requires you to enter your payment information to secure your booking. Then, depending on how far out you've booked your trip, you'll follow RVezy's payment schedule, which determines your cancellation window and when we'll take your security deposit and payments.
Step 6. Complete the required documentation
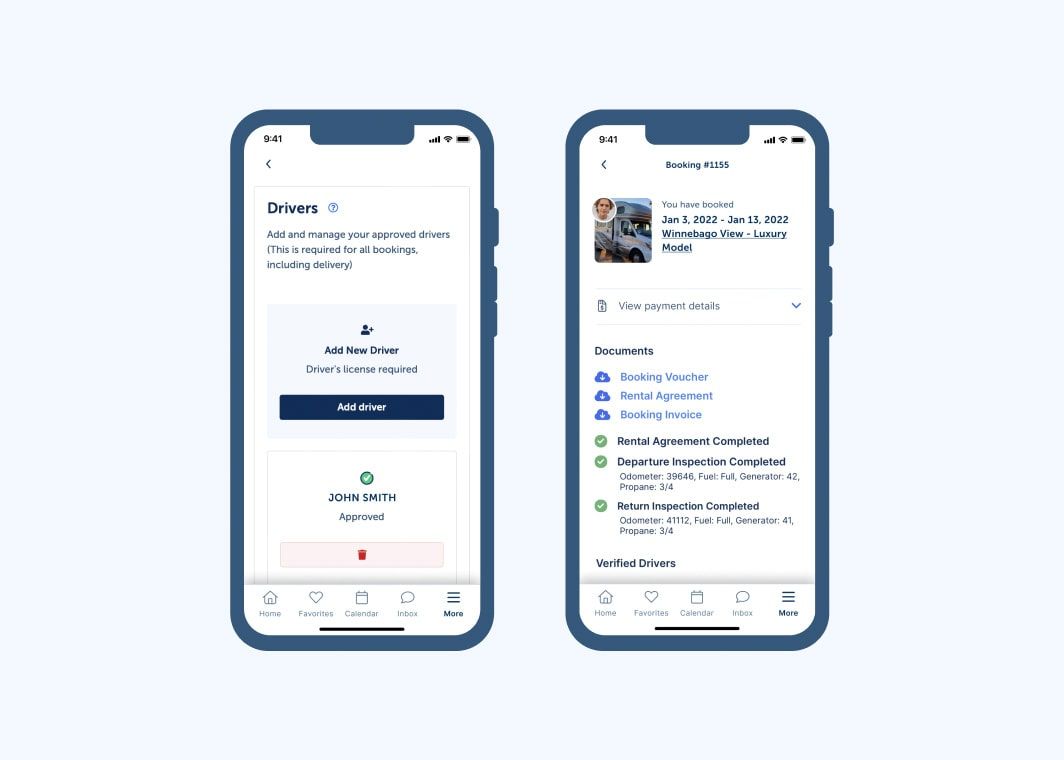
Once your host approves your booking request, RVezy will send you notifications to get started on the documents we require before and after every rental. Everything you need will be sent to you electronically on the RVezy app. All rentals must have an approved driver, a complete rental agreement, fully documented departure and return inspections, and a closeout.
Want to know more about RVing? RVezy's blog and help center articles cover everything you might want to know, from explaining the cost of renting an RV by type to answering your top questions about RV rental.
How to list your RV
Step 1. Create your RV listing
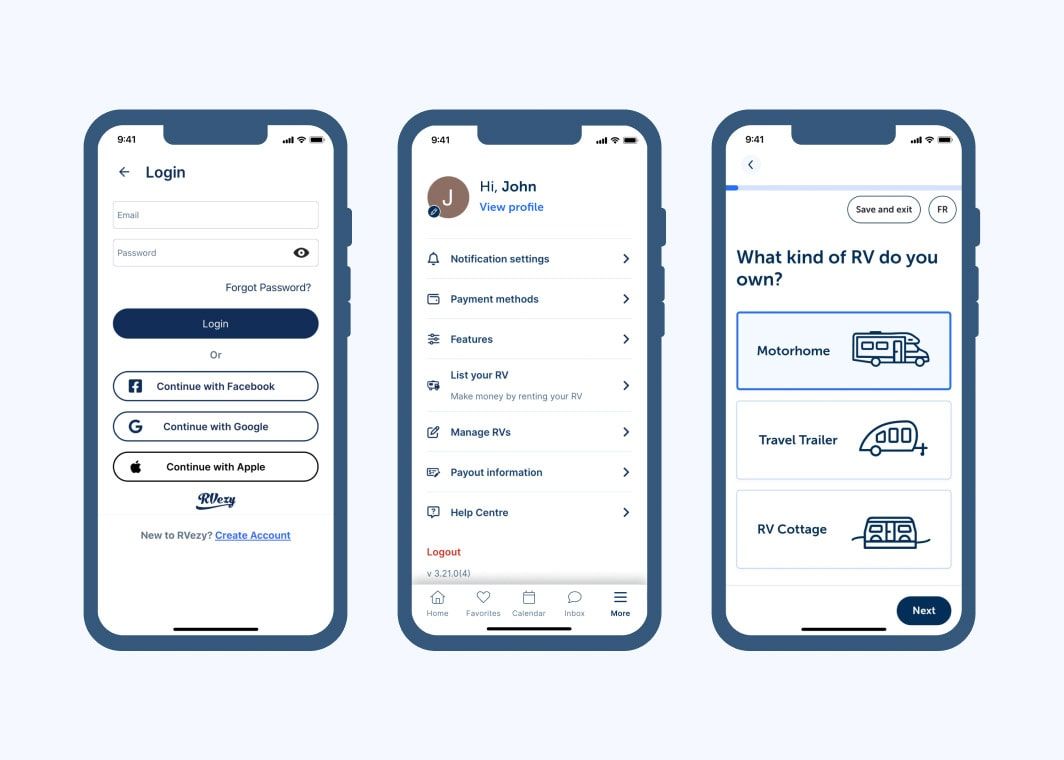
Every listing starts with the basics. You'll enter your motorhome or travel trailer's specs, which will differ depending on what type of RV you own. Don't worry about making your listing perfect during this step. Most hosts refine their listings and add personalized touches later. To get started, you'll need to:
- Give your RV listing a unique name.
- Select your RV type and add in details such as length, number of slide outs, weight, or towing requirements.
- Check the boxes to indicate which amenities come standard on your RV.
- Upload photos of your RV. Listings with more photos get more bookings.
- Use the details section to describe your RV. Include anything a renter might want to know about your RV.
- Determine your nightly rate and customize items like your security deposit, cleaning fee, or delivery fee.
Step 2. Verify your account
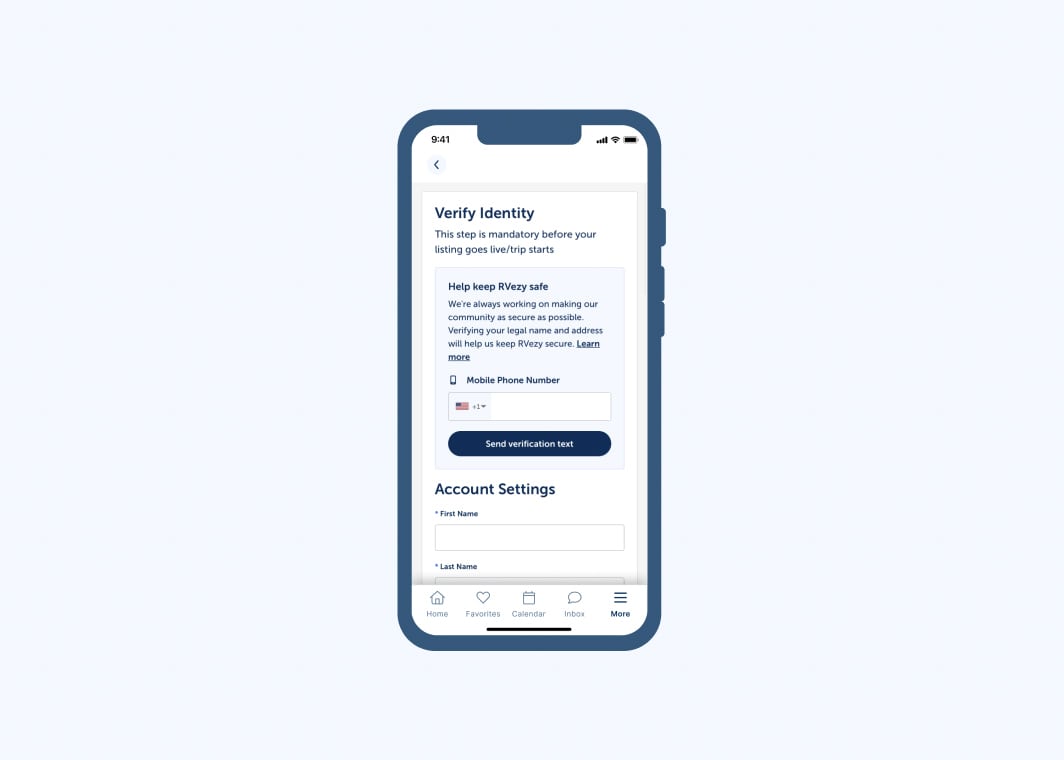
Once you've created your listing, you'll need to verify your account. RVezy's identification verification process is simple. To get started, go to your RVezy profile and follow the instructions. To complete this step, you'll need:
- Your smartphone with a camera.
- A valid driver's license, passport, or another government-issued identification card.
Step 3. Set up your calendar
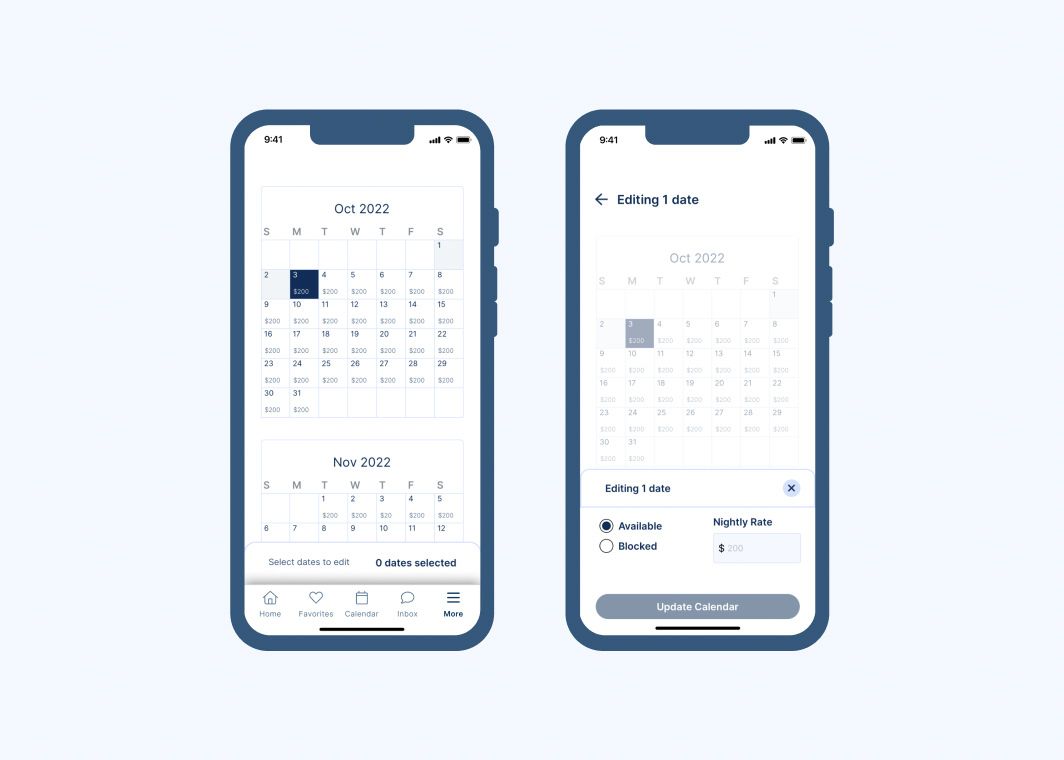
Set up your calendar. Since you can update your calendar as often as you'd like, we suggest you start by updating your availability by:
- Blocking off unavailable dates.
- Creating customized prices for holidays and long weekends.
Step 4. Complete your insurance profile and add your bank account
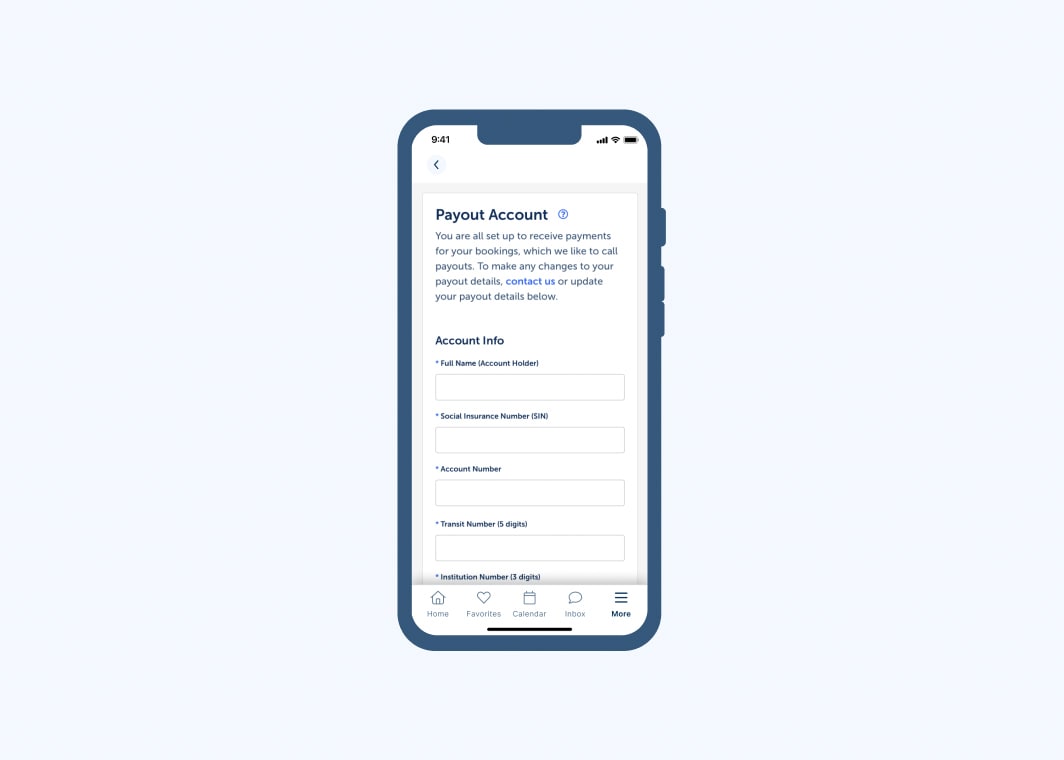
Complete the following steps to get your RV listed and start making money sooner.
- Upload a picture of the front and back of your driver's license.
- Answer questions about your driving history.
- Input your RV's license plate and VIN.
- Determine your RV's cash value.
- Provide the name of the company that insures your RV.
- Add your bank account. Rental payouts are sent to this account via direct deposit.
Want to learn more about RV rental insurance? Check out our blog post: How RV rental insurance works.
Step 5. Publish your listing
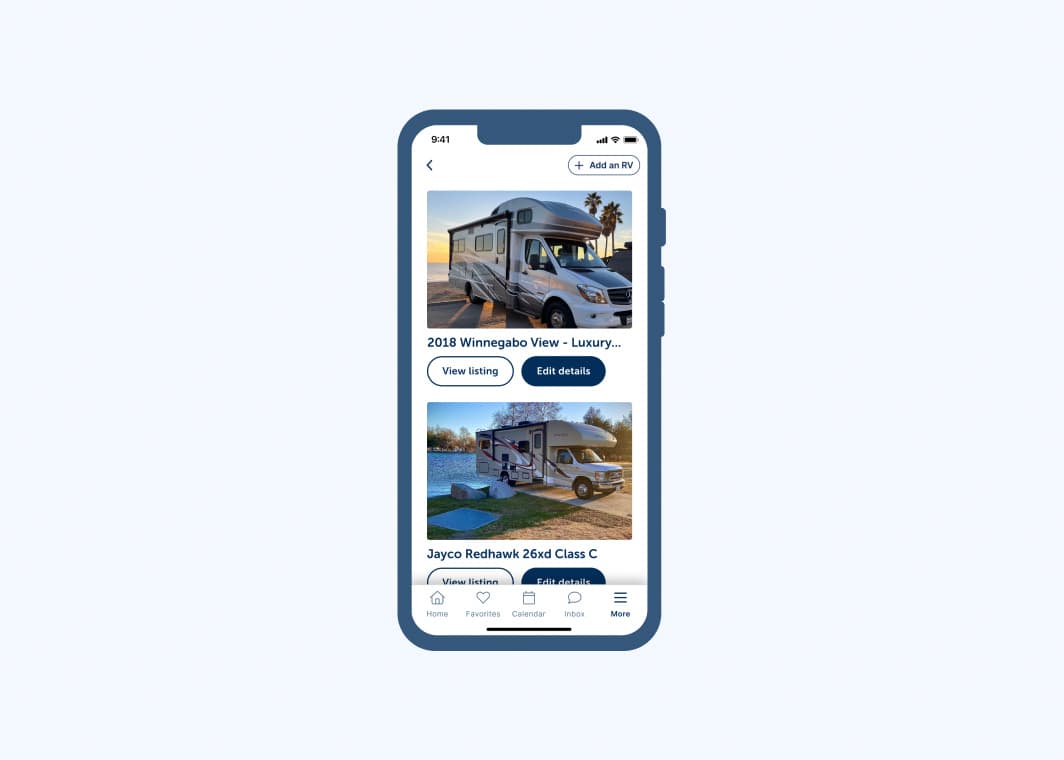
You can make changes to your listing at any time. Refine your listing by updating your preferences and customizing your add-ons.
- Adjust booking preferences, including required driving experience and restrictions around events and/or festivals.
- Pick and customize your add-on packages.
- Review your listing, add more pictures, and update your description if you think you need more details or more eye-catching content.
- Publish your listing and get ready to receive booking requests.
Step 6. Take booking requests and manage your listing
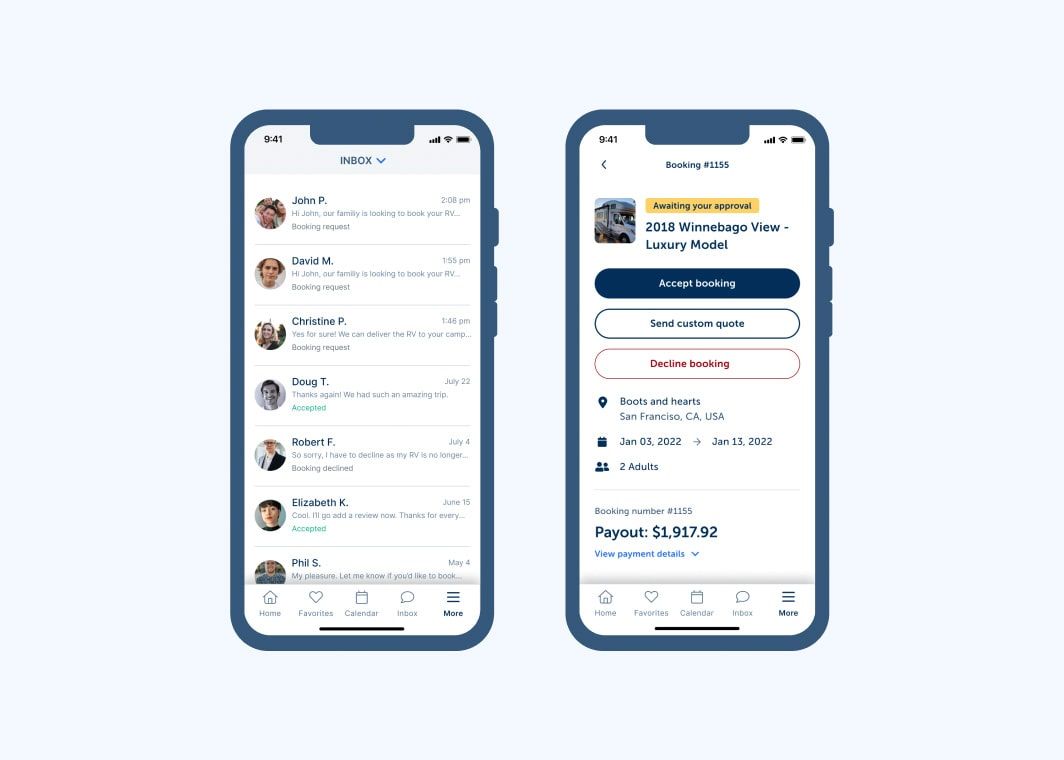
- Always message guests and complete your transactions within the RVezy platform. RVezy's secure messaging system gives our hosts and guests a safe place to communicate and protects your personal information throughout the rental process.
- Respond to inquiries and accept or decline booking requests within 24 hours to earn and maintain your active response rate and search position.
- Manage your listing by keeping your calendar current and your listing up-to-date.
- Use the RVezy app to review your bookings, complete the rental agreement, and document your RV's condition during the departure and return inspections.
- Finalize each rental by completing the closeout process using the RVezy app.
How to have a successful departure and return
Whether you're the host or guest, the keys to a successful departure and return are communicating your expectations and completing RVezy's required documentation. The departure and return inspections should take approximately an hour, so it's important to allow adequate time before and after every rental to finish the process.
Communicate with each other
- Determine your agreed-upon locations for the departure and the return.
- Be on time.
- Discuss how both parties will handle travel delays or late arrivals before they happen.
- Call the campground and be aware of the delivery rules and hours of operation if you're delivering or having an RV delivered to a campground.
Host tip. Leave your guests copies of your manuals and other helpful resources in an easy-to-find place inside the RV.
Tips for a successful departure and return
- Come prepared. If you're renting a towable RV, talk with the host to ensure you have the proper equipment to tow the trailer safely.
- Help make the how-to process easy and have the RV fully set up when your guests arrive.
- Have your guests practice taking down the RV before the rental begins.
- Guests renting drivable RVs must complete a short road test to ensure they are comfortable adjusting the mirrors, accelerating, turning, and stopping.
- Use the RVezy app to sign the rental agreement, complete the departure and return inspections, and complete the closeout.