![How to Winterize your RV [9 Simple Steps]](https://ghost-cdn.rvezy.com/2021/10/Fleetwood-Southwind-RV-in-the-snow.jpg)
- Why do you need to winterize your RV?
- When should you winterize your rig?
- Supplies needed to winterize your RV
- How to winterize your RV in 9 easy steps
- Dump and drain
- Protect your lines with RV antifreeze
- Ten quick tips to prep your RV for winter storage
- Frequently asked questions
- Ready, set, winterize!
- Renting out your RV?
Will your RV be ready for winter when the temperatures start to drop?
Winterizing your RV yourself can seem intimidating. Thankfully, once you break down the steps into smaller tasks and locate the areas of your rig where you need to do the work, the winterization process won't be difficult at all!
Let's get started!
Why do you need to winterize your RV?
Winterizing your RV is the process of removing water from water lines, holding tanks, the water heater, and other water systems that can freeze when temperatures go below freezing. Even a little bit of water left in your system could freeze, expand, and damage your RV. Winterizing your camper will save you from paying high repair costs and help keep your RV out of the shop once spring rolls back around. Whether you choose to winterize your RV by adding RV antifreeze or blowing out your lines, the goal is the same — get the water out of the lines.

When should you winterize your rig?
When temperatures go below freezing
Start thinking about winterizing your RV before the first freeze of the season. If a sudden cold snap catches you off guard, you might find it challenging to get to your RV storage facility and winterize your camper at the last minute. The easiest way to monitor temperatures is to use a weather app that provides an hourly detail. That way, you'll know the exact time the temperatures are supposed to dip below freezing. Just one freeze could damage your RV, and you don't want that to happen!
When storing your RV
You should also winterize your RV when you're ready to store it for the winter. Even if the temperatures are still warm, properly tucking your camper in for the off-season will give you the peace of mind of knowing that your RV is ready for the cold.
When traveling through cold climates
Are you headed to a warmer climate for the winter? Keep an eye on the weather, where you live, as well as where you're traveling. While you might be tempted to keep your systems in summer mode if you're moving south for the winter, driving through freezing temperatures, even for one day, could potentially damage your RV.

Supplies needed to winterize your RV
- Owner's manual.
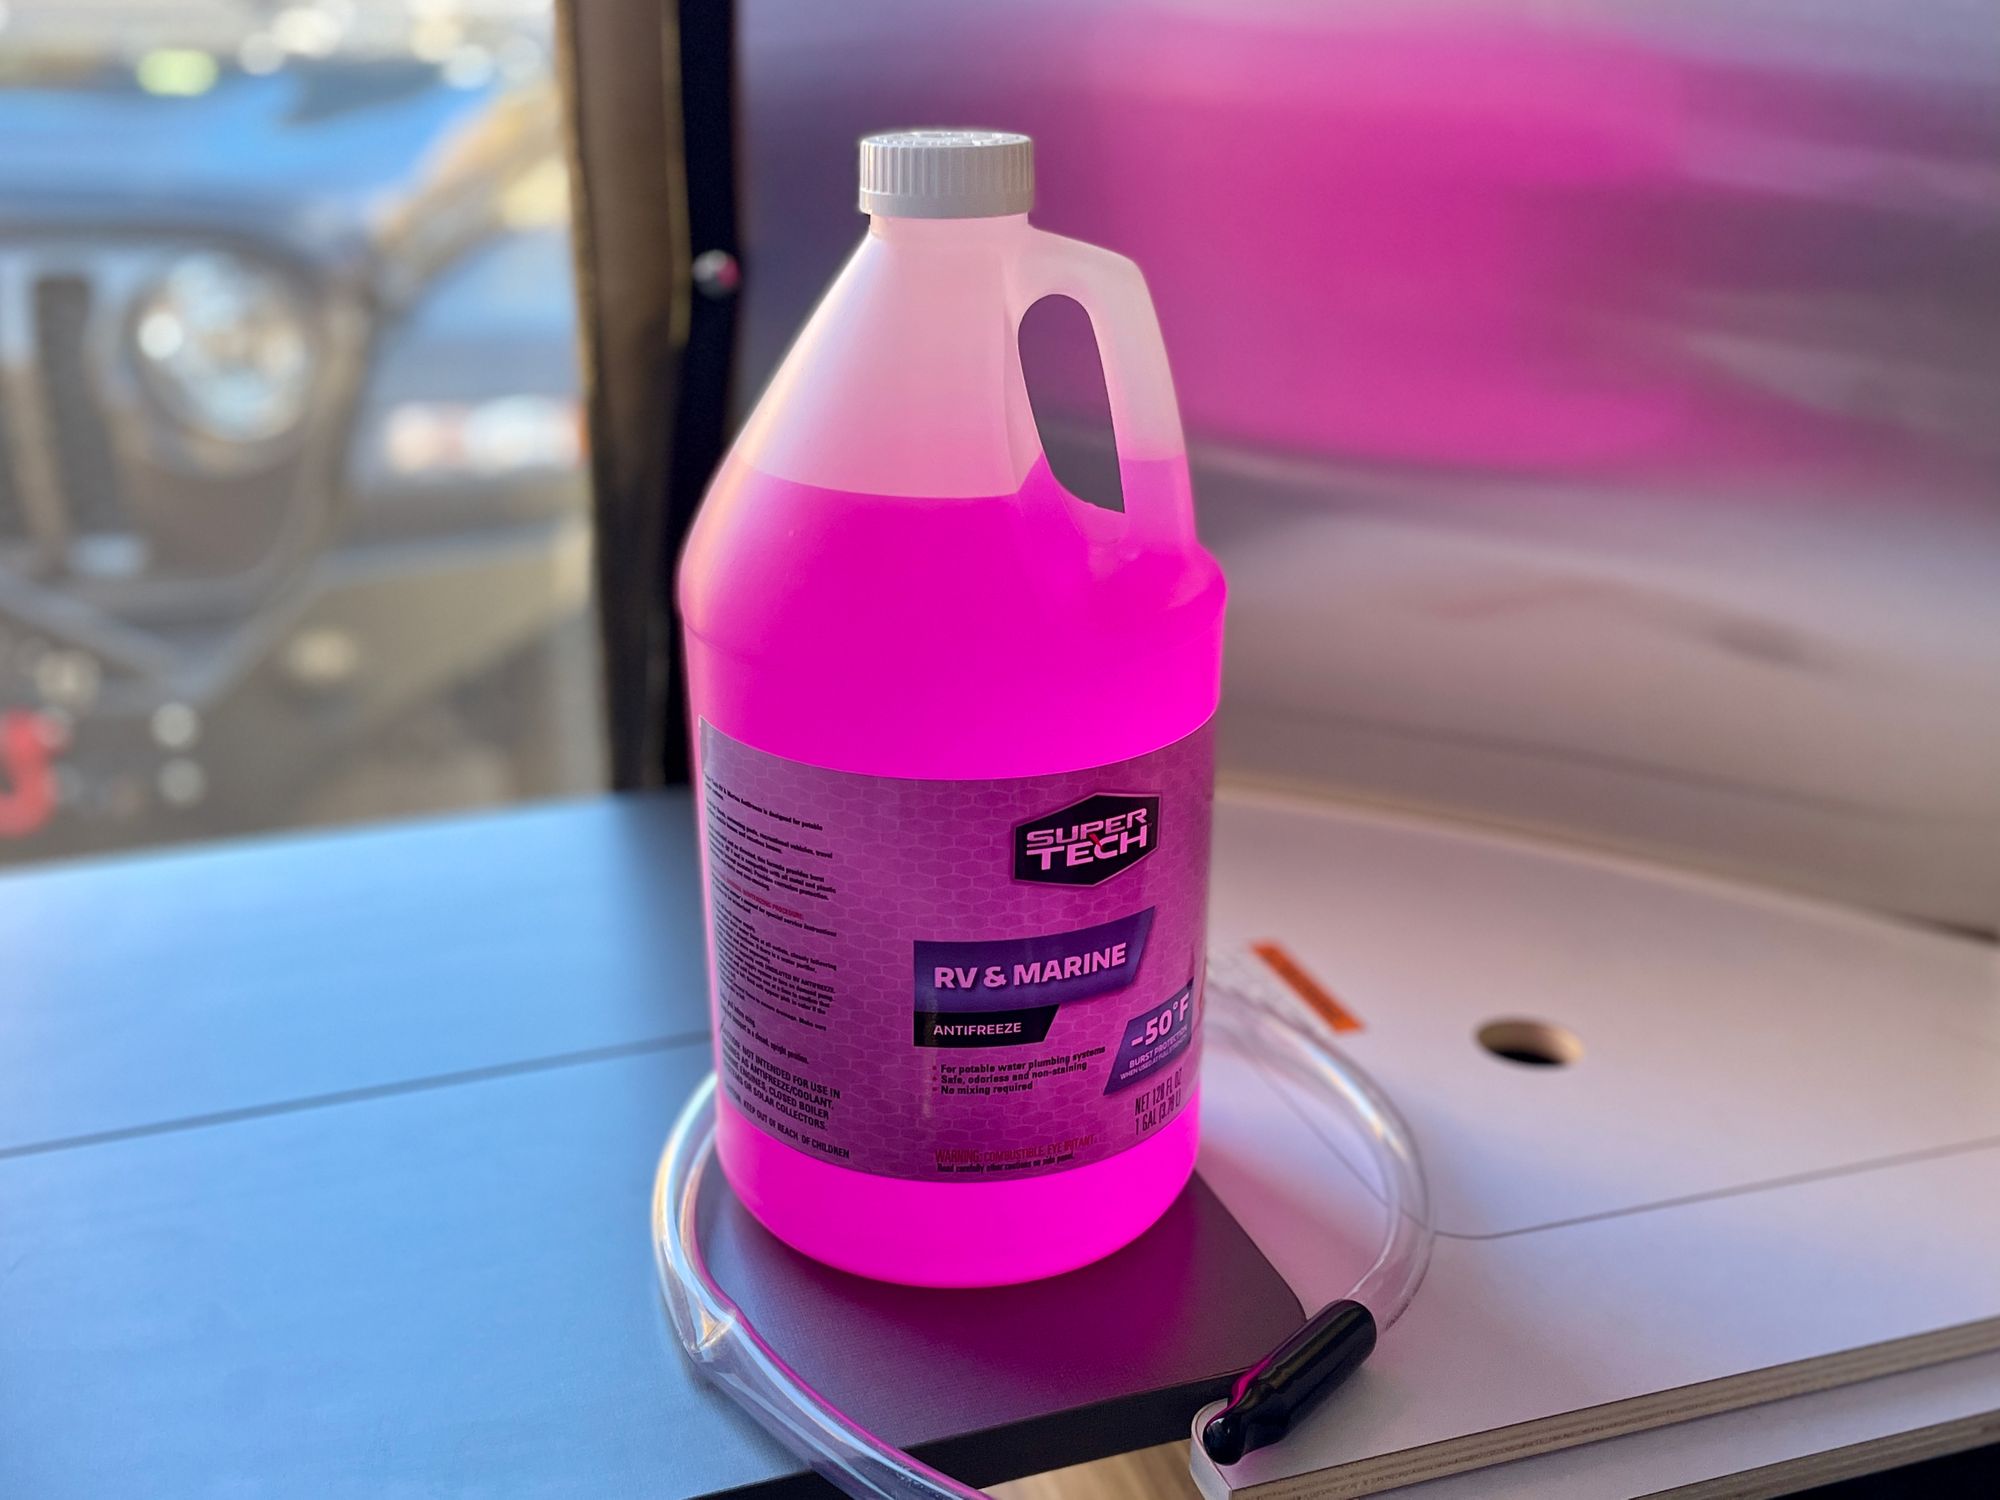
- RV pink antifreeze (at least two jugs).
- Flashlight.
- Towels.
- Bucket.
- Small bowl or container to collect water in the sink.
- Screwdriver.
- Air compressor.
- Air compressor blow-out plug.
- Tool to remove your anode rod (not all RVs have anode rods).
How to winterize your RV in 9 easy steps
For the most part, winterizing your camper or RV is a simple task you can do yourself. Whether you winterize your camper yourself or have a certified RV technician do the work, it's important to prep your RV for the winter, no matter how you get it done.
Since every RV is different, it's a good idea to consult your owner's manual before starting the winterization process. Also, remember that some RVs may have extra components, like a washing machine, ice maker, or dishwasher, which may require additional steps to winterize.
Dump and drain
Step one
Start with clean and empty black and grey water holding tanks.
Step two
Drain the freshwater tank.
Step three
Clear out the water in your lines.
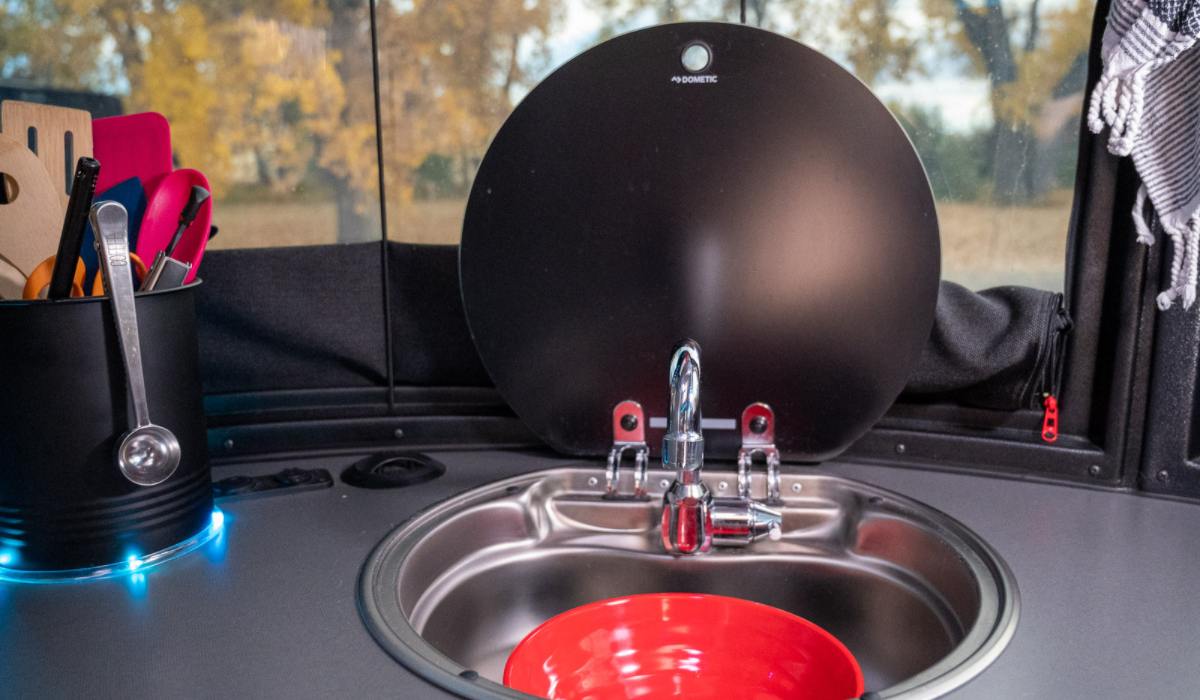
- Place a bowl under the faucets to prevent any water from going back into the holding tanks.
- Turn on the water pump and open the cold side of the faucet until there's no more water.
- Close the cold side of the faucet and open the hot side of the faucet until there's no more water.
- Repeat steps a and b with every sink and shower inside and outside of the RV.
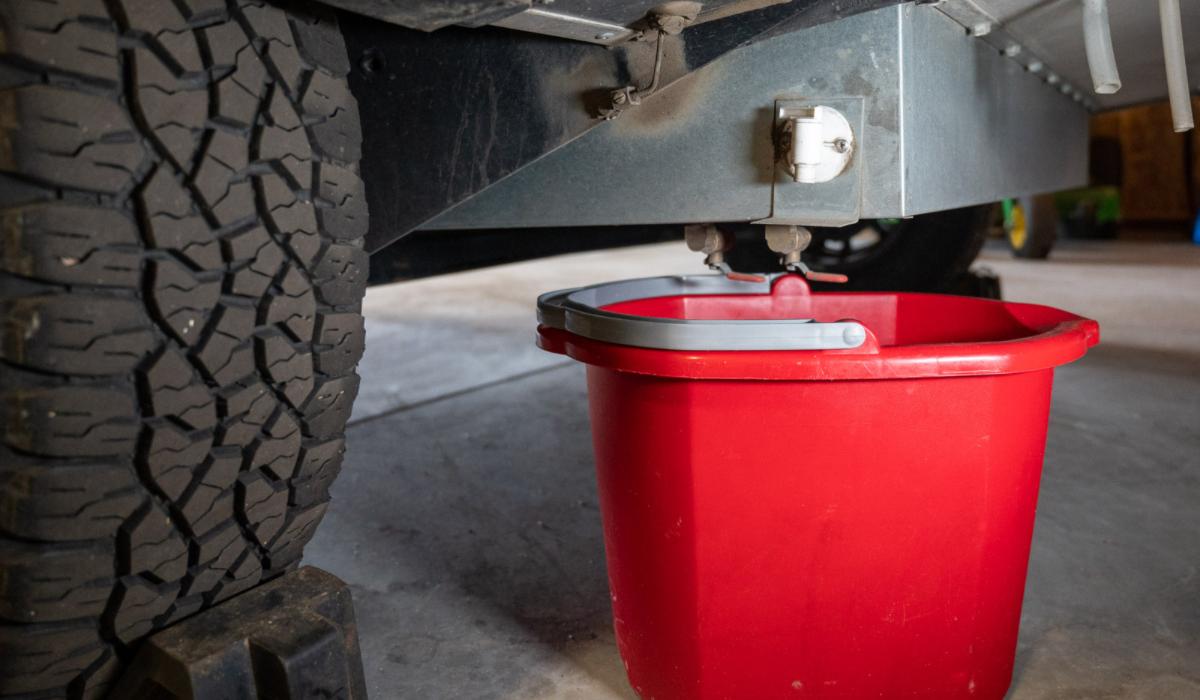
- Place a bucket underneath the low-point drain valves.
- Open the low point drain valves and keep them open.
Tip: Opening a faucet during the next few steps may help clear the lines faster.
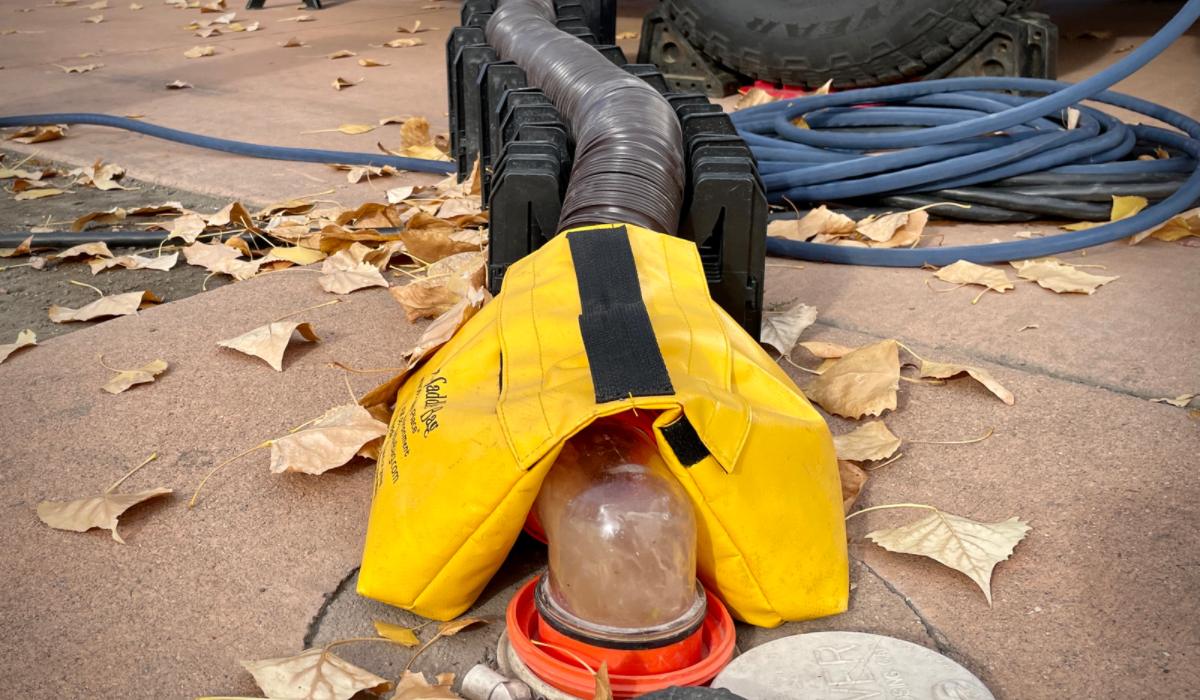
- Locate the pressure release valve on the water heater. If you have a water heater with an anode rod, after releasing the pressure, remove the rod to help the draining process.
- Blow out the city water line and the black flush inlet if you have a black water flush.
- Close any open faucets.
Step four
Bypass the water tank using the bypass valve on the water heater.
Tip: Have a small towel handy in case you need to absorb any water that comes out of the water pump.

Protect your lines with RV antifreeze
Step five
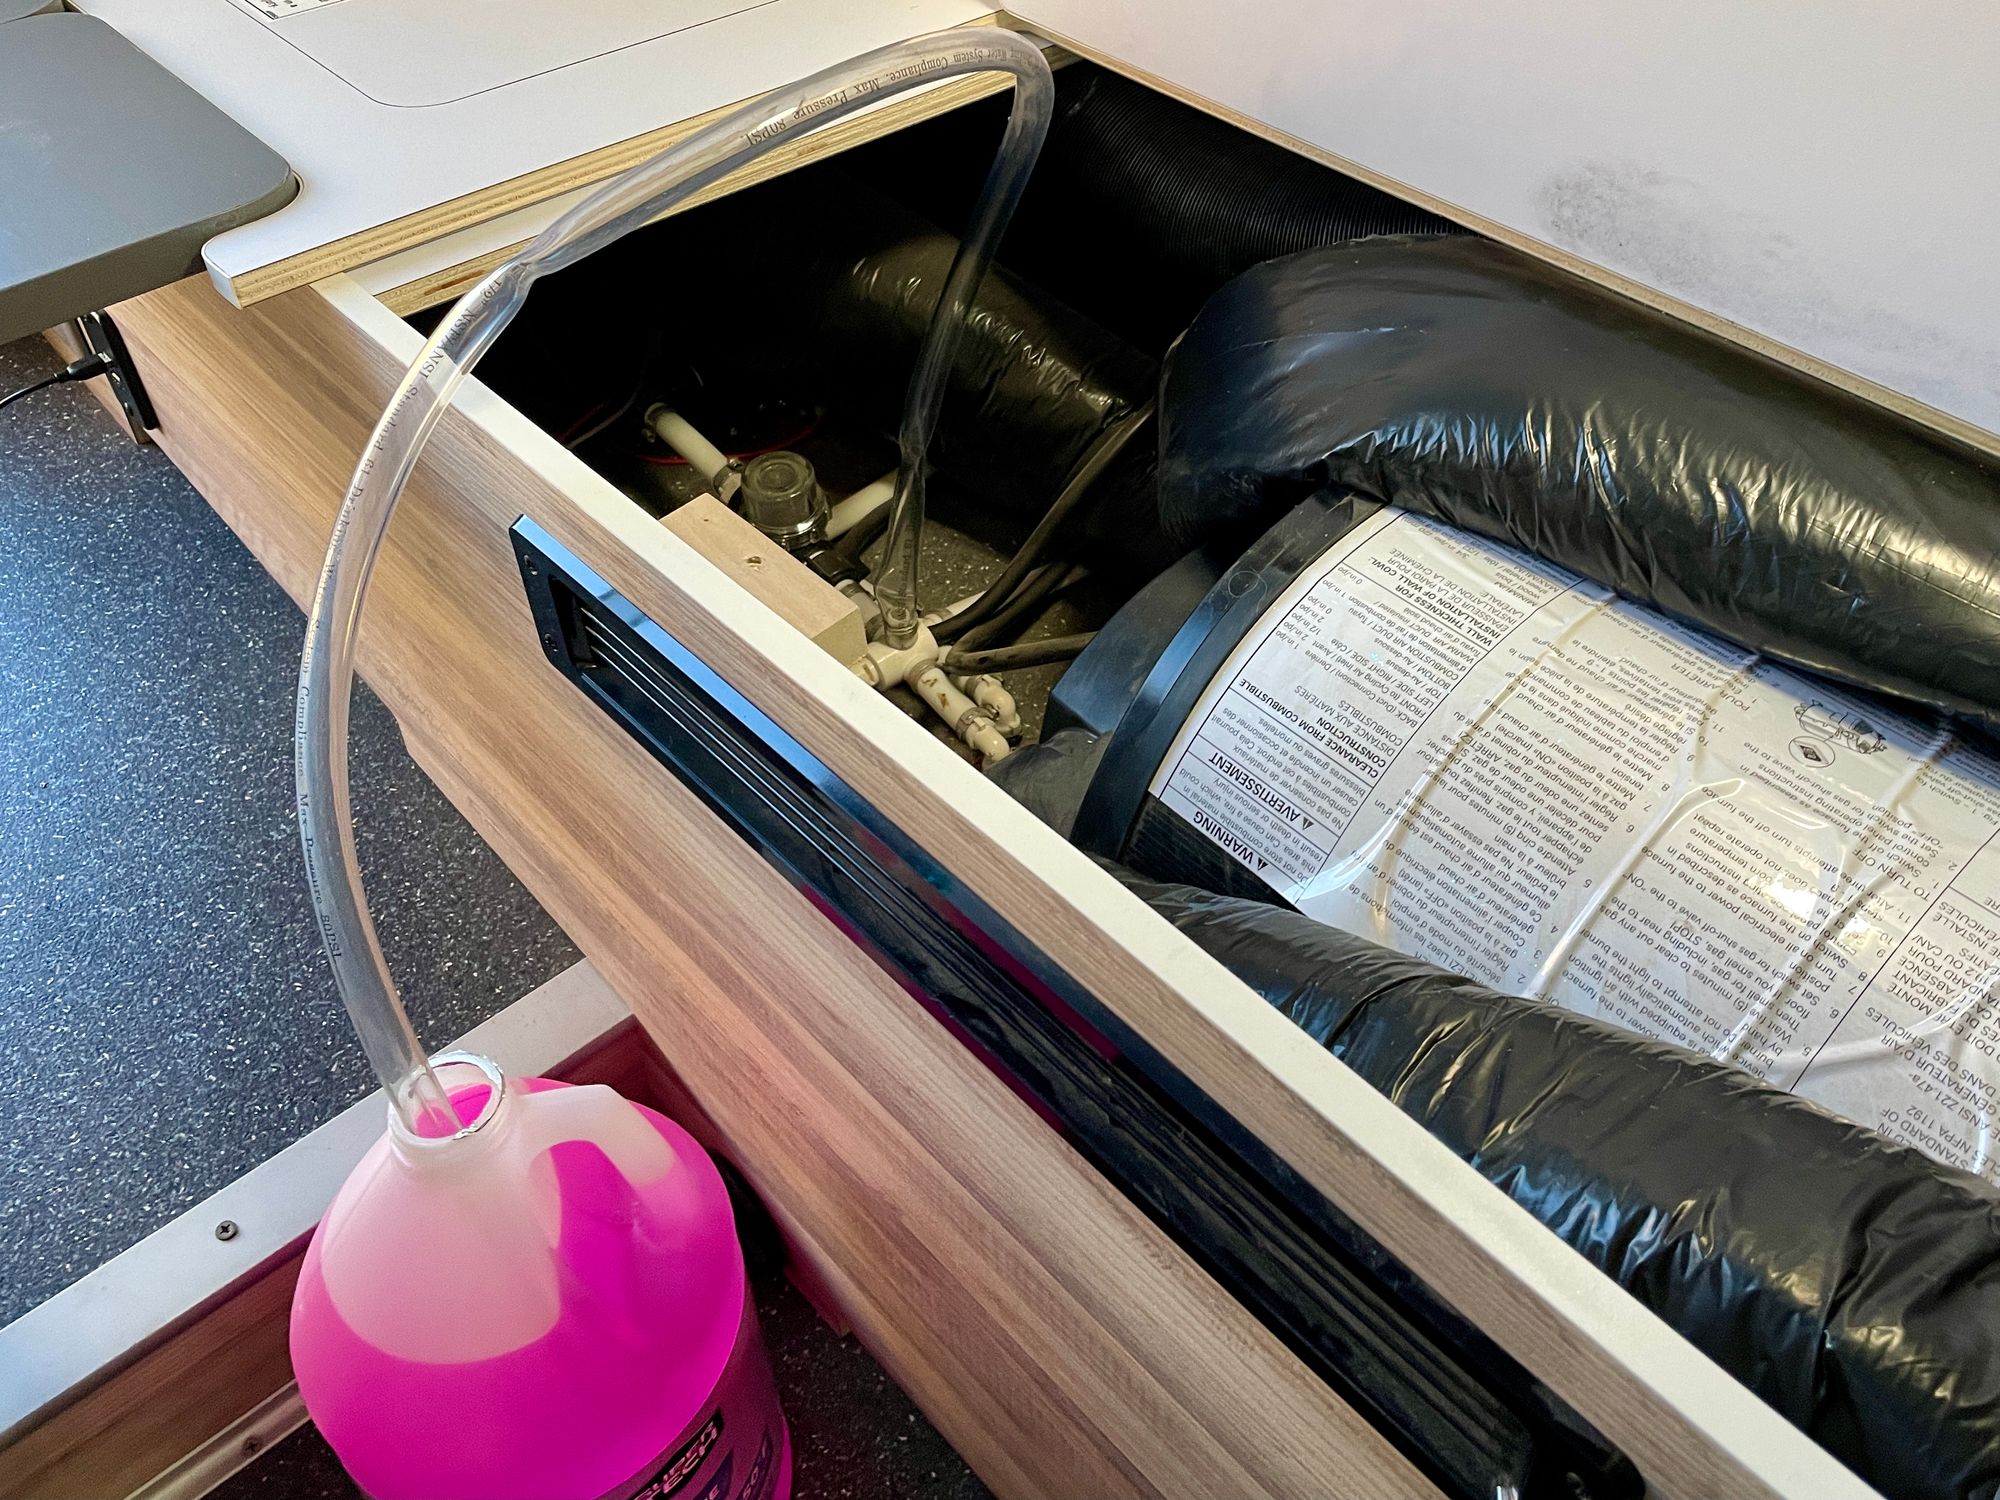
Locate the siphon tube from the water pump converter kit and insert the siphon tube into a one-gallon jug of pink RV antifreeze.
Tip: Many newer RVs have a siphon tube and a water pump winterization kit already installed. If you don't have a siphon tube and water pump winterization kit, disconnect the line coming from the freshwater holding tank (the inlet) and connect the tube from the water pump inlet into the jug of pink RV antifreeze.
Step six
Push RV antifreeze through the system.
- Turn on the water pump and immediately close the low point drains as soon as you see pink RV antifreeze flow through them.
- Open the faucets, toilet valves, and showers on the inside and outside of the RV one at a time until you see antifreeze flow through.
- Repeat this process for both the cold and hot sides of the faucets.
- Turn off the water pump and open a faucet one more time to release any built-up pressure.
Step seven
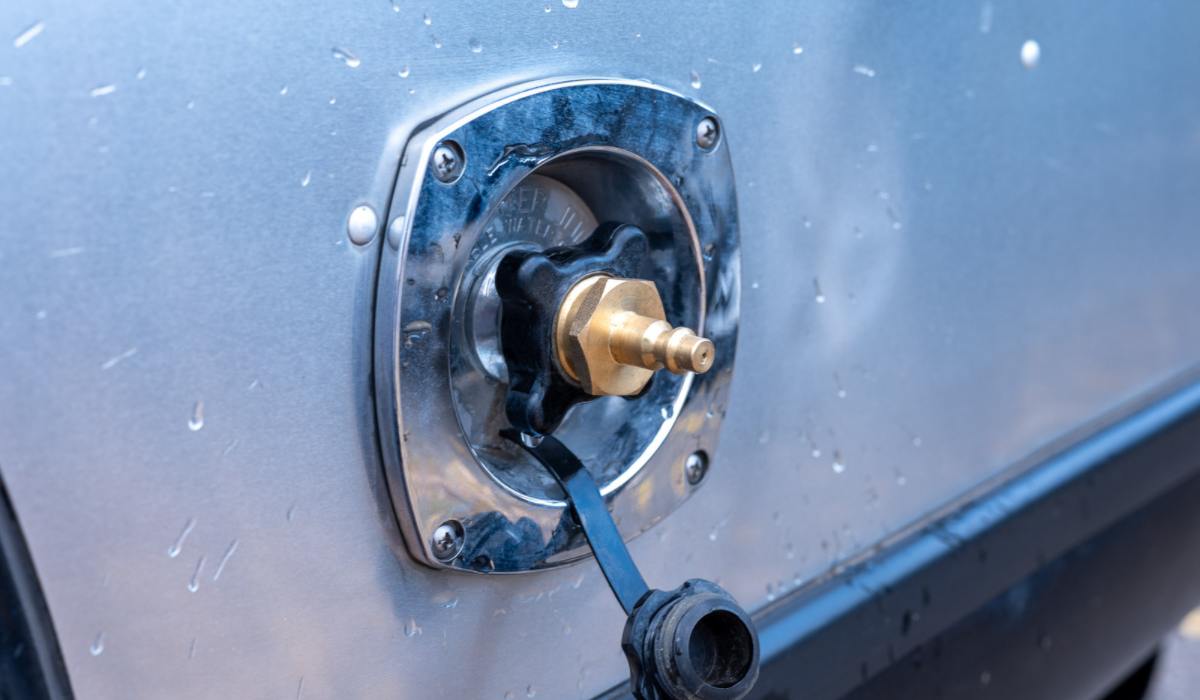
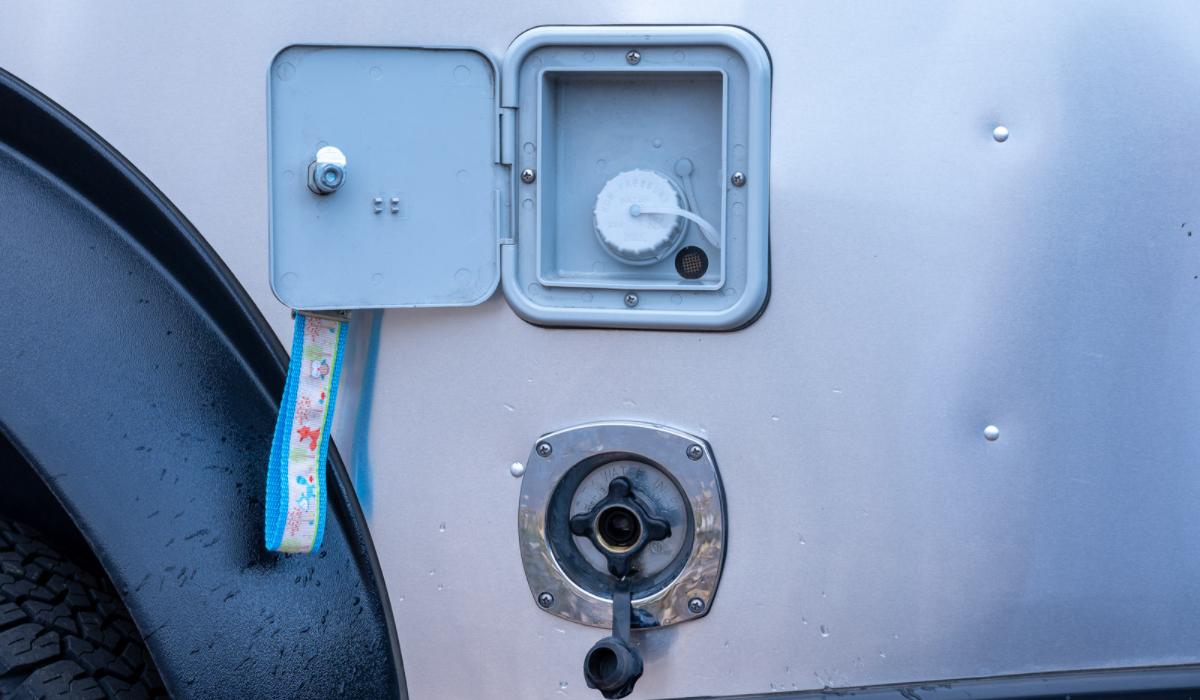
Push RV antifreeze through the city water intake on the outside of the RV.
- Take off the cap and remove the small screen covering the inlet.
- Push on the valve with a screwdriver until you see antifreeze. Step to the side to prevent getting sprayed!
- Replace the screen and cap.
Step eight
Drain the siphon tube.
- Keep the tube in the RV antifreeze bottle but lift it out of the liquid.
- Turn on the water pump to help suck the rest of the fluid left in the tube into the lines. You may need to turn on a sink or lift the hose to help drain any remaining antifreeze left in the tube.
- Turn off the water pump and wipe down and stow the siphon tube.
Step nine
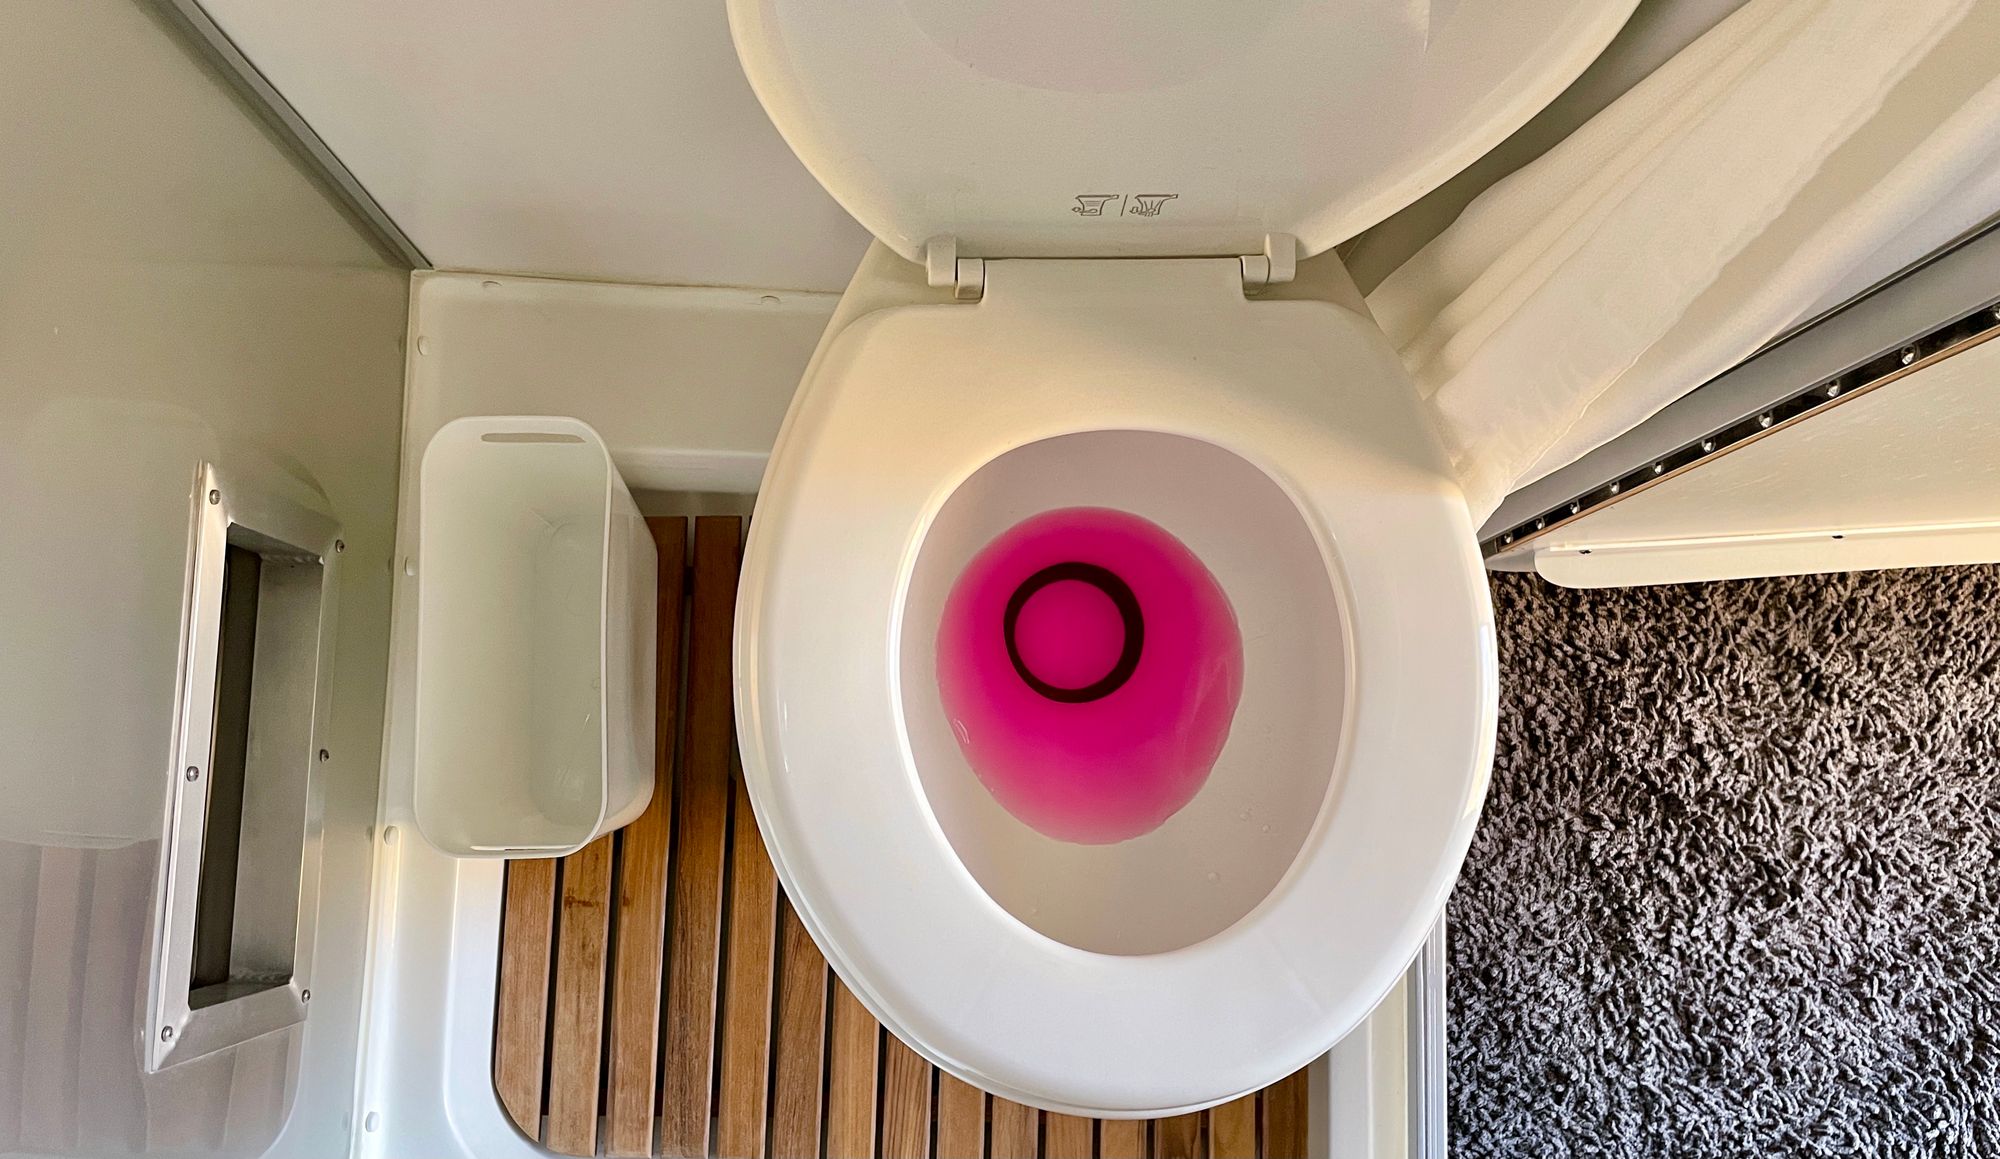
Pour RV antifreeze into the P-traps.
- Pour about a half cup of pink RV antifreeze into the P-traps of your sinks, toilet, and shower.
Ten quick tips to prep your RV for winter storage
Once you've winterized the water system, consult your owner's manual for RV long-term storage procedures. Although the process differs depending on your RV type and storage facility, here are 10 quick tips to prep your RV for winter storage.
- Turn off or unplug any power-draining devices.
- Switch the battery disconnect switch to store and follow your manufacturer's recommendations for maintaining your battery.
- Turn off the main liquid propane supply valve.
- Remove any food items that could attract rodents or bugs.
- Turn off and wipe down the inside of the refrigerator. Keep a towel over the door for air circulation.
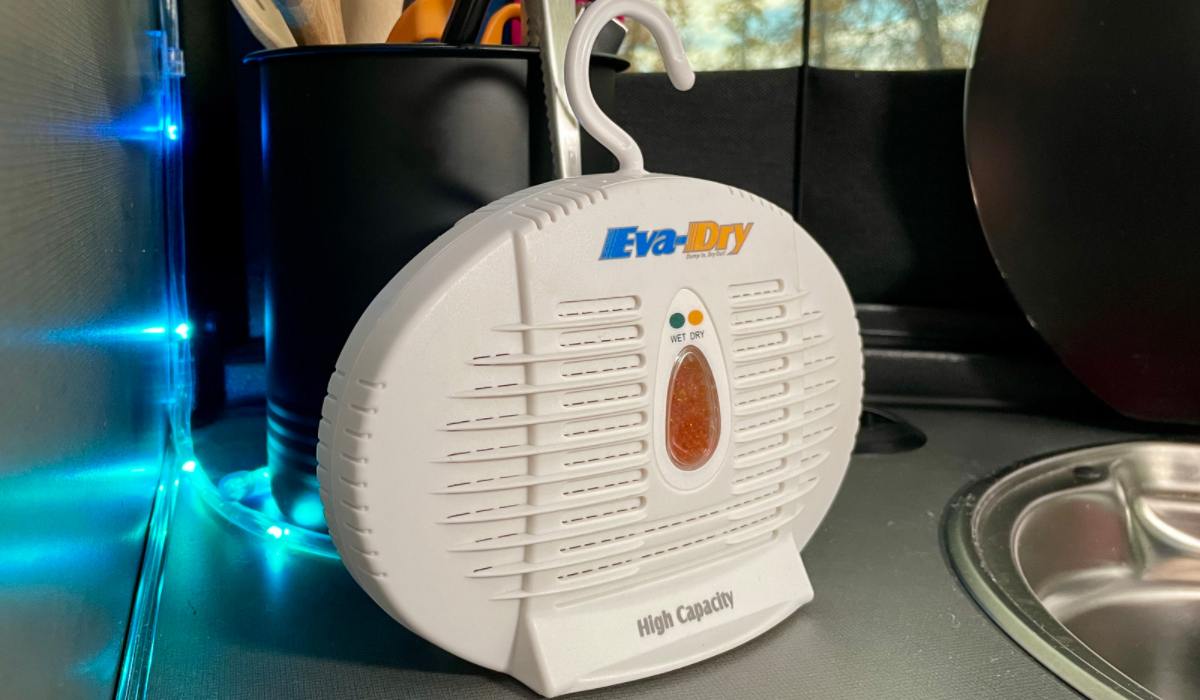
- Use cordless dehumidifiers inside the camper to help prevent mold or mildew.
- Cover your tires if you store your RV outside.
- Place a repellent like Fresh Cab or set up mouse traps in areas where critters might enter your RV.
- Leave your cabinets open for better air circulation.
- Follow your manufacturer's specifications for winterizing your generator (if equipped).
Frequently asked questions
Can you use your RV once it's winterized?
Yes! Keep in mind that once your RV is winterized, you won't be able to use any of your water systems unless you dewinterize your RV first. To keep your RV winterized but still use it, you'll primarily rely on campground facilities and treat your RV like a big tent on wheels.
Can you winterize your RV when it's below freezing?
Yes, but it's better to winterize your RV before temperatures drop below freezing. Depending on how cold it is, exposing your RV to even five minutes of below-freezing temperatures can damage the water systems. We recommend keeping your RV in a heated building if you plan to winterize it once the temperatures drop below freezing.
Do all RVs need to be winterized?
Yes and no. It just depends on how you plan to use your RV during the winter. If you store your RV in a heated and insulated building, monitor the building's temperature, and keep it there for the winter, you shouldn't have to winterize your camper.
The same rule applies to people who live in the warmer parts of the United States. In the Sunshine Belt, you typically won't have to worry about winterizing your RV. But, as we all know, the weather can be unpredictable. That's why we suggest that all RVers keep an eye on the sky and have the supplies on hand in case you need to winterize your RV last minute.
Do you need to winterize a four-season RV?
Some RVs come with tank heaters, sealed underbellies, and four-season capabilities. However, to keep the water systems in your four-season RV from freezing, you still need to rely on your tank heaters and propane or electric heat to keep everything warm.
While you might be able to keep your systems from freezing if you're stationary, it could be challenging to keep things from freezing while you're driving, even if you add plenty of antifreeze to your holding tanks and drive with your tank heaters on.
Winter camping can be fun. But, before you head out with your RV in the snow, make sure you understand how your systems operate and be mindful of your RV's extreme temperature limitations.
Ready, set, winterize!
Now that you know more about winterizing your RV, you can decide if you want to tackle the project yourself or pay someone to help you out. We know that winterizing your camper means the end of camping season, but don't worry. Before you know it, spring will be just around the corner, and you'll be ready to dewinterize your RV and start planning for the upcoming camping season.
Renting out your RV?
Proper winterization and storage help keep your RV in great shape for years to come. Keeping your RV in optimal condition during every season is especially important if you decide to rent out your RV on RVezy.
Our hosts are required to regularly check their RV for any defects in operations or safety standards. Hosts warrant that their RV will be safe and roadworthy, and in good mechanical condition at all times.

Meagan Butler
Meagan is a glitter-loving, trailer-towing RV content writer. When she's not camping in her Winnebago Solis, she spoils her dogs, takes landscape photography, and supports the RV community.
View more posts