RV maintenance and storageRV rental business tips
Spring Cleaning your RV and Preparing it for the Next Rental
Posted on October 30, 2019

It may not feel like it right now – what, with most of the country breaking records for the coldest winter in decades – but spring is, as they say, just around the corner. Although that corner may still be a couple of months away, it's never too soon to start planning for spring cleaning your RV and preparing it for the next rental.
In order to get your RV in tiptop shape for this summer, whether you're renting it out or planning your own RV adventure, a proper cleaning and inspection checklist will keep you on track and get your motorhome ready to roll.
As an RV owner, you may already know how important it is to prepare your RV for winter storage. In the fall, you undoubtedly and dutifully winterized your RV, so when this chilly winter begins to thaw it's time to get out there and de-winterize.
There are many different schools of thought on how to tackle spring cleaning your RV, but for our purposes we like to set up a checklist that works from the outside in. This way, as we are cleaning we can also perform a thorough inspection looking for are any obvious signs of wear or damage.
RV Spring Cleaning Checklist
1) RV Batteries
.png)
During winter storage, RV batteries can lose up to 10% of their charge per month when not in use, so this a great place start when de-winterizing your RV and getting is ready for the next big RV adventure. Make sure they are fully charged and properly connected.
2) RV Engine
Next, start by ensuring that all of your engine fluids are at their proper recommended levels. You will want to pay particular attention to the engine oil, transmission fluid, and engine coolant before even starting your RV up for the first time. It's also best to check all other fluids as well, including brake fluid, power steering fluid, and even the windshield washer. As part of your inspection, take note of any fluids with low levels as this can indicate a leak, something you will definitely need to address right away.
3) RV Lights And Gauges
With the battery charged and the fluids topped up, it's now time to check the lights and gauges. Check all the brake, signal and hazard indicator lights, as well as the headlights, both low-beam, high-beam and fog lights. Replace any bulbs that are not working to ensure it isn't a more serious electrical issue. Next check the gauges and make sure they are giving accurate readings.
4) RV Propane
If your RV uses propane, the next step would be to inspect the tanks, lines and valves. If you have the refillable propane tanks check the dates to make sure they haven't expired. For the lines and valves you can use the soap bubble test to determine if there are any leaks. It's also recommended to have a professional pressure test completed on the propane system each year.
5) RV Tires

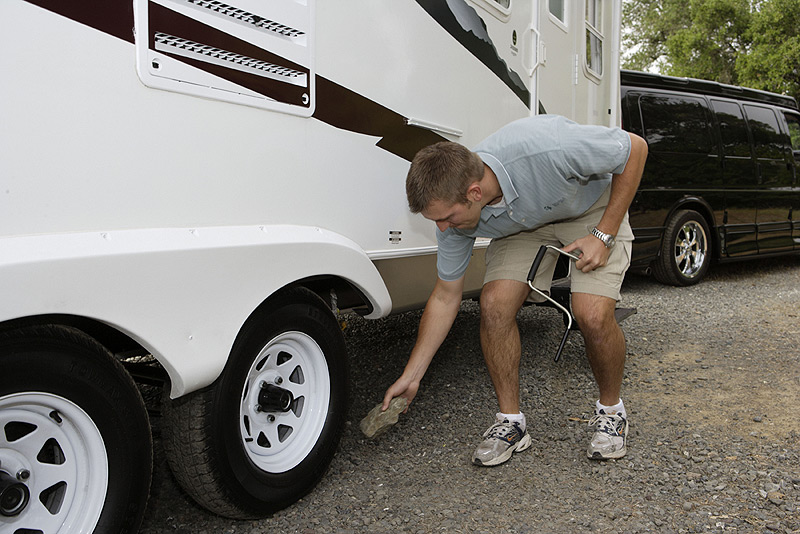
RV tires are one of the most important components of your RV. Although it is recommended to replace your tires every 5 years, in-between replacement times you'll still want to thoroughly inspect them for any signs of damage. When de-winterizing ensure your RV tires are properly inflated to the recommended PSI, as they will lose pressure during winter storage.
6) RV Propane
.png)
Now that you have the major components in working order it's time to do an external visual inspection of the seams. Start from the roof and move down over the entire body. If you find any cracks of forms of damage make sure you repair it straight away to stop any potential leaks from causing water damage on the inside of your RV. If the roof shows signs of wear you may want to look into getting it professionally resurfaced.
7) RV Water Tank
Now it's time for the biggest job when it comes to spring cleaning your RV – de-winterizing the water tanks. The first step is replace the drain plug, and then turn off the water heater bypass. You'll then want to fill your fresh water tank so you can flush out the RV antifreeze.
After the water-pump has pressurized the system you can begin flushing out the RV antifreeze. This is also a great time to check for any leaks. Look under sink cabinets, around the toilet, and basically anywhere the water may flow. If you find any leaks make sure to repair them right away.
After you have flushed out the system and checked for any potential leaks, the next step would be sanitize the system. You can create a simple solution by mixing 125mL of household bleach to 140 litres of fresh water. Pump the solution through the system and turn on the faucets until you can smell the bleach. Once you can smell the solution, turn off the faucets and let it sit overnight. The next day flush the system with fresh water until the water runs odourless.
8) RV Appliances

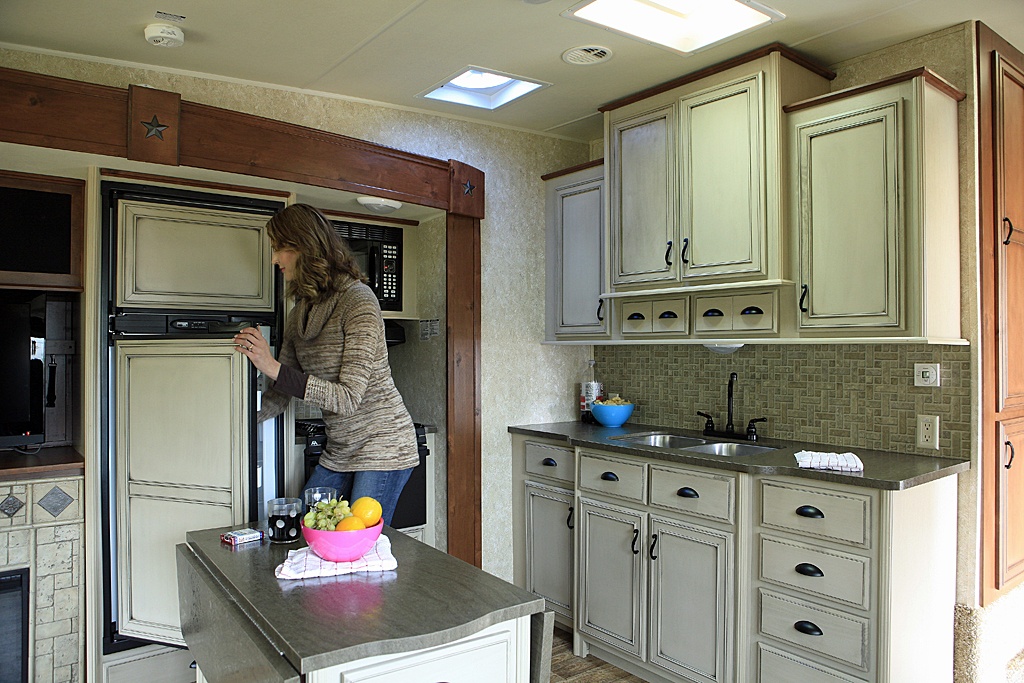
After you've got the water system fresh and clean it's time to ensure all your appliances are still in proper working order, from the fridge and stove to the air-conditioning and any other modern convenience that your RV may have.
9) RV Safety Devices
Finally, once you've confirmed everything is in working order you'll next want to check that all of the safety devices are in good working order. This includes checking such things as the expiry date of the fire extinguisher, to changing the batteries in the smoke, carbon monoxide, and PL gas leak detectors.
And that's it! Your RV is now road-ready.
Ready to start making money with your RV? List your RV for rent today!